Welcome To My Blog!

For the past year, I've had the experience of being a part of the Niagara Falls Boys and Girls Club Cookbook Committee. Our committee is in the process of finishing our cookbook, A Stir In The Mist: Tastes and Traditions of Niagara Falls. It is a collection of recipes from the Niagara Falls community and local restaurants. All proceeds from the sale of this book will go directly to the Niagara Falls Boys and Girls Club. Just recently I have relocated to Ohio, but still wanted to be involved with the book. After watching the movie Julie and Julia, I was inspired to share the great recipes from our cookbook and the experience I had making each of them. I hope you will enjoy the journey I will take stirring my way through A Stir In The Mist!

Let the "stirring" begin!

Well I have started this venture through the cookbook. First things first, each recipe I do will only be a little story about the steps it took to get to the final product. There will be no ingredients given out and no steps to how I got every great tasting recipe to turn out so delicious. That is for you to find out when you purchase or when someone else purchases"A Stir in the Mist" for you!!

I will apologize now for any grammar or punctuation mistakes I may make. I know I am coming from a family of educators, therefore I should know better about these things, but I may make a few mistakes. Soo lets get started....

Thursday, October 14, 2010

Rice Pilaf

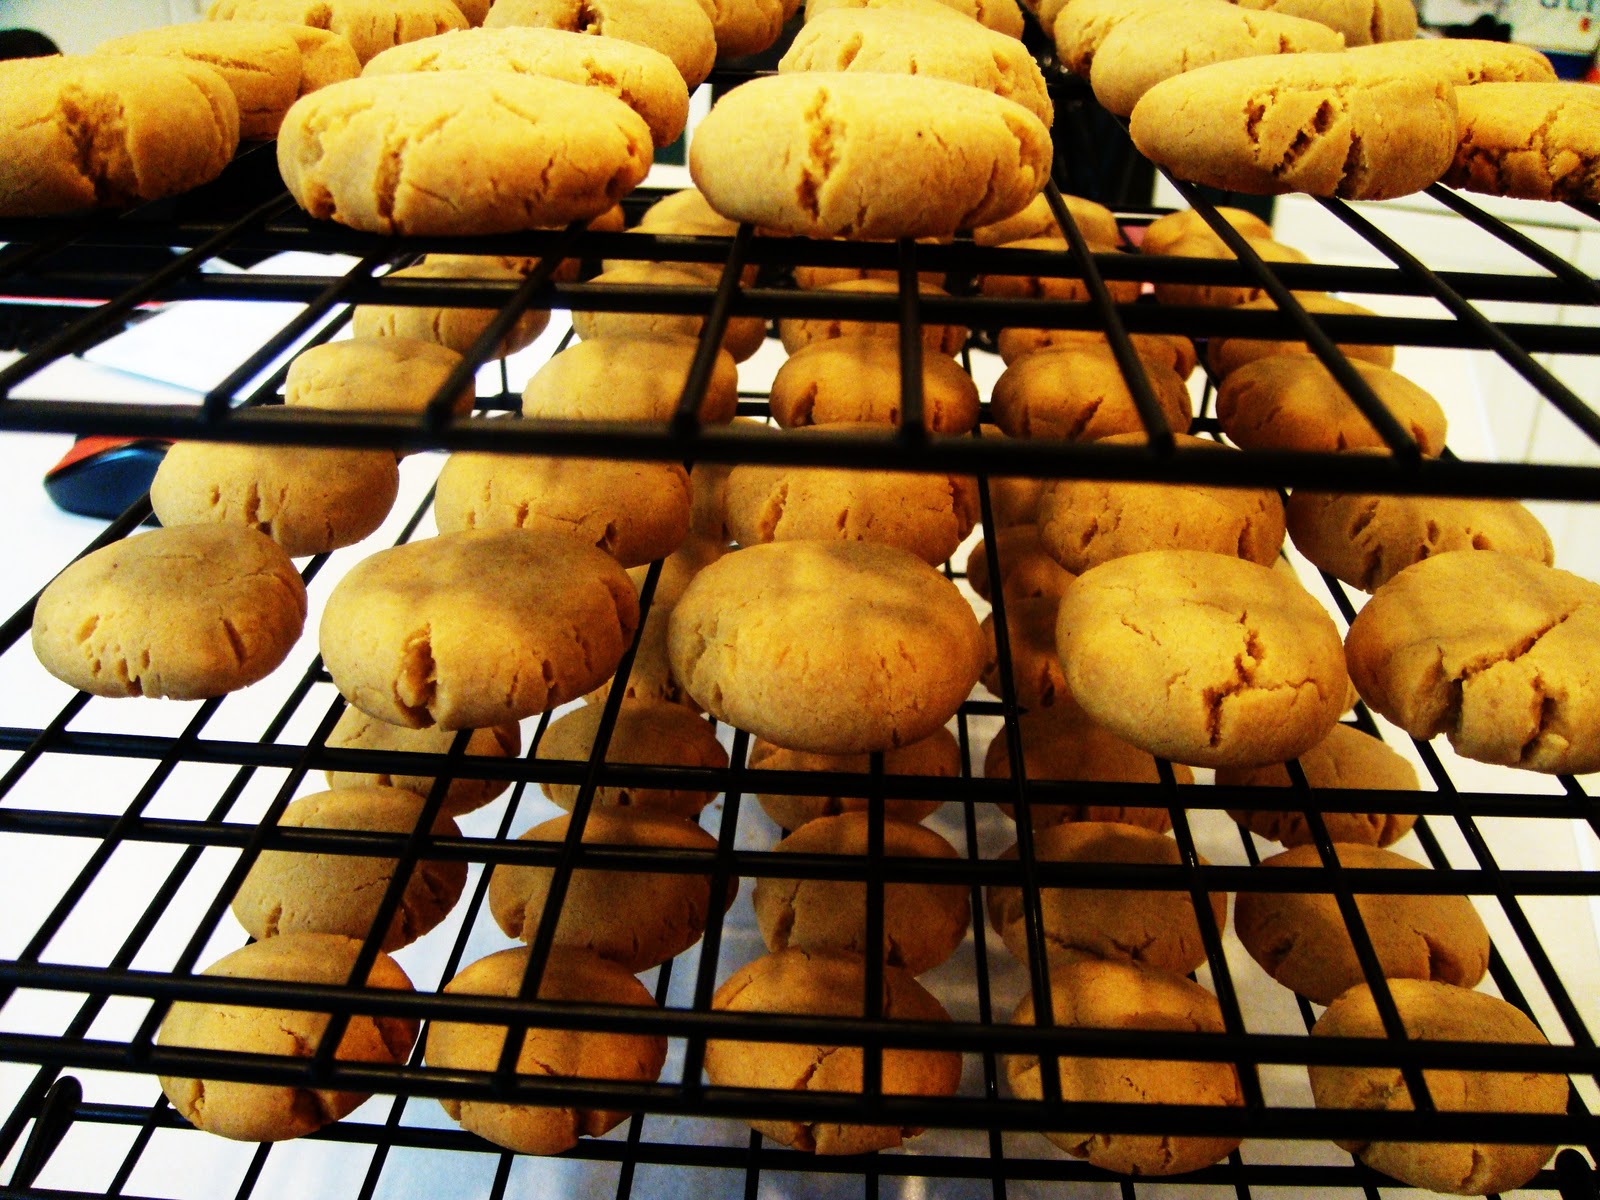
When it comes to cooking and following the recipe. I sometimes look into a recipe to much. That is what usually can turn me away from making some recipes. Once I see an ingredient that I am not sure of or exactly where to find it in a grocery store, I usually will turn it away.
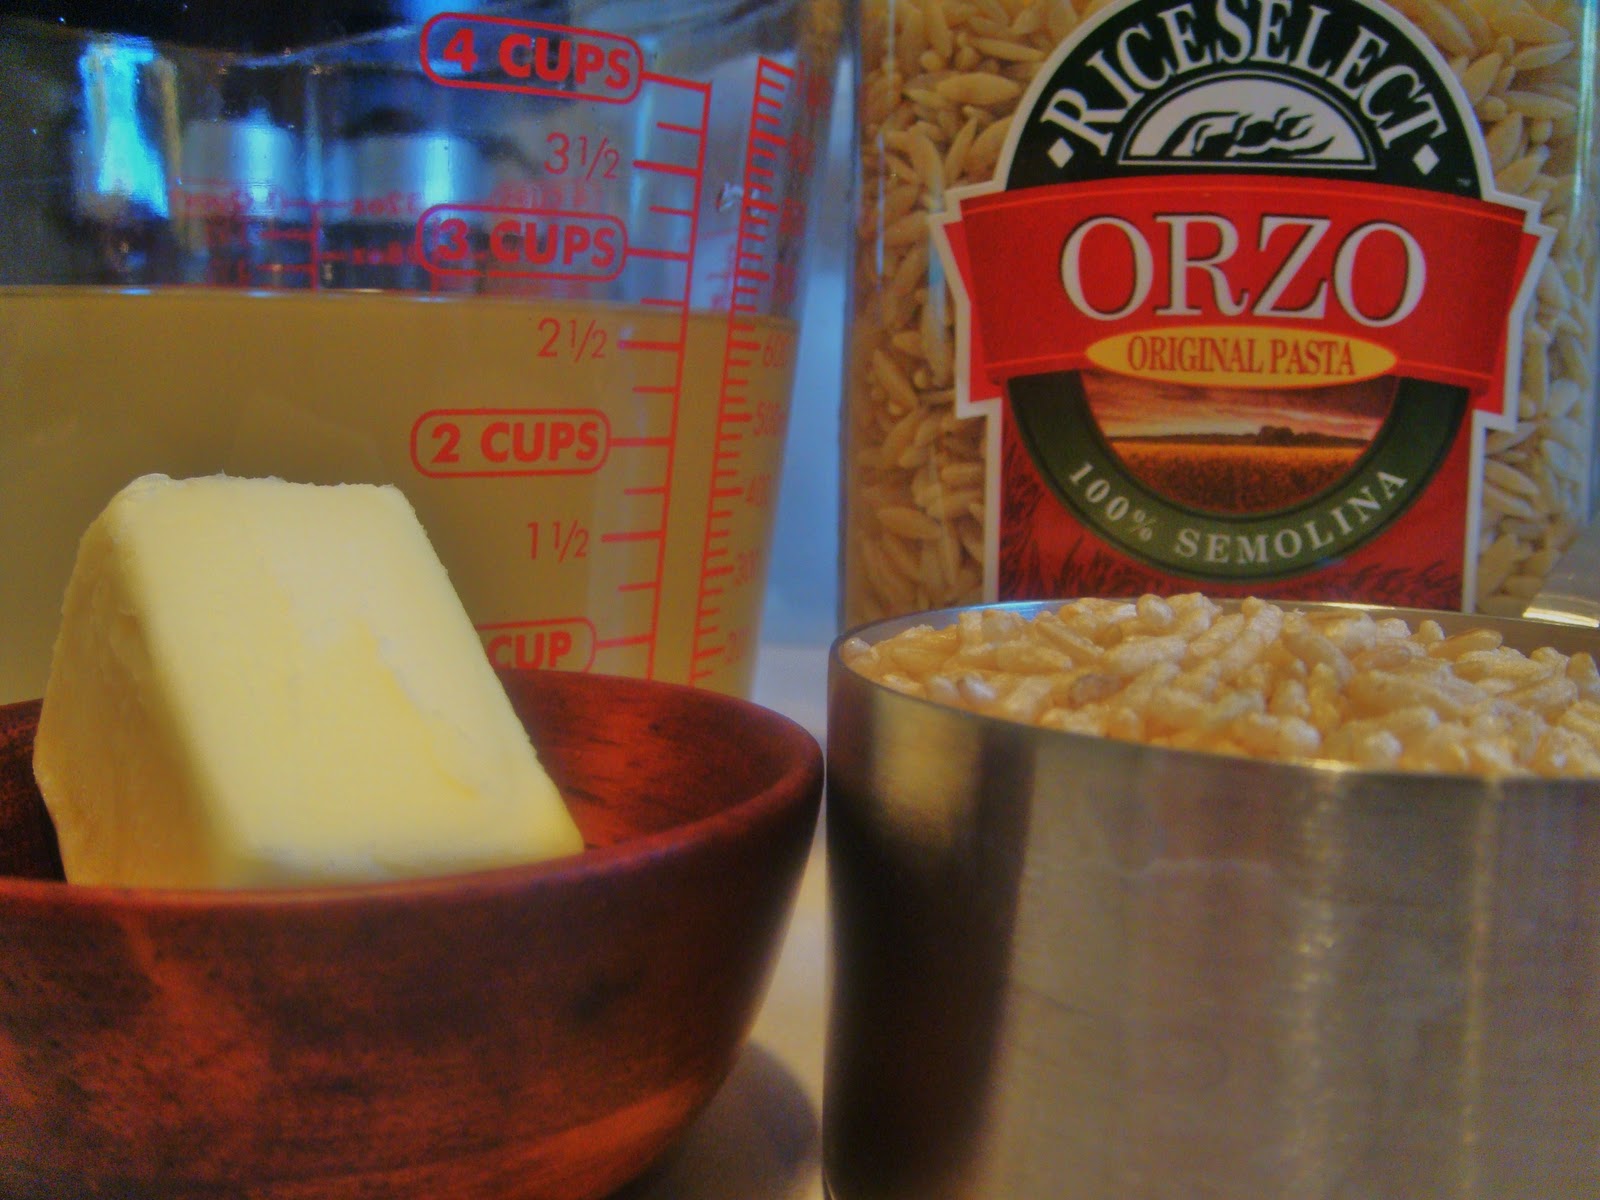
This Rice Pilaf dish at first was one of those recipes. The first ingredient that it calls for is Rosa Marina Pasta. At first I just assumed it would be next to all the other types of Barilla Pasta in the grocery store. Come to find out it was not. Then I went to, two other Italian specialty stores that carry strictly Italian ingredients. I even had an employee at the store searching the shelves for Rosa Marina. Well with the Internet today, "Google" should have been my first place to look. If it was not for Google, how could you ever get questions answered that you have no clue of.
So I "googled" Rosa marina pasta. Come to find out Rosamarina or Rosa marina pasta is basically identified as a synonym for orzo, which may also be called manestra.
Well now that is better. Orzo here I come.
Your first step in this recipe is going to get your the golden brown rice you will need in rice pilaf. You will brown the orzo in butter until it is brown. It is pretty neat to see the transformation.
 The Orzo starts off the same color as a normal long grain rice. Once it is done you will notice the big difference in color.
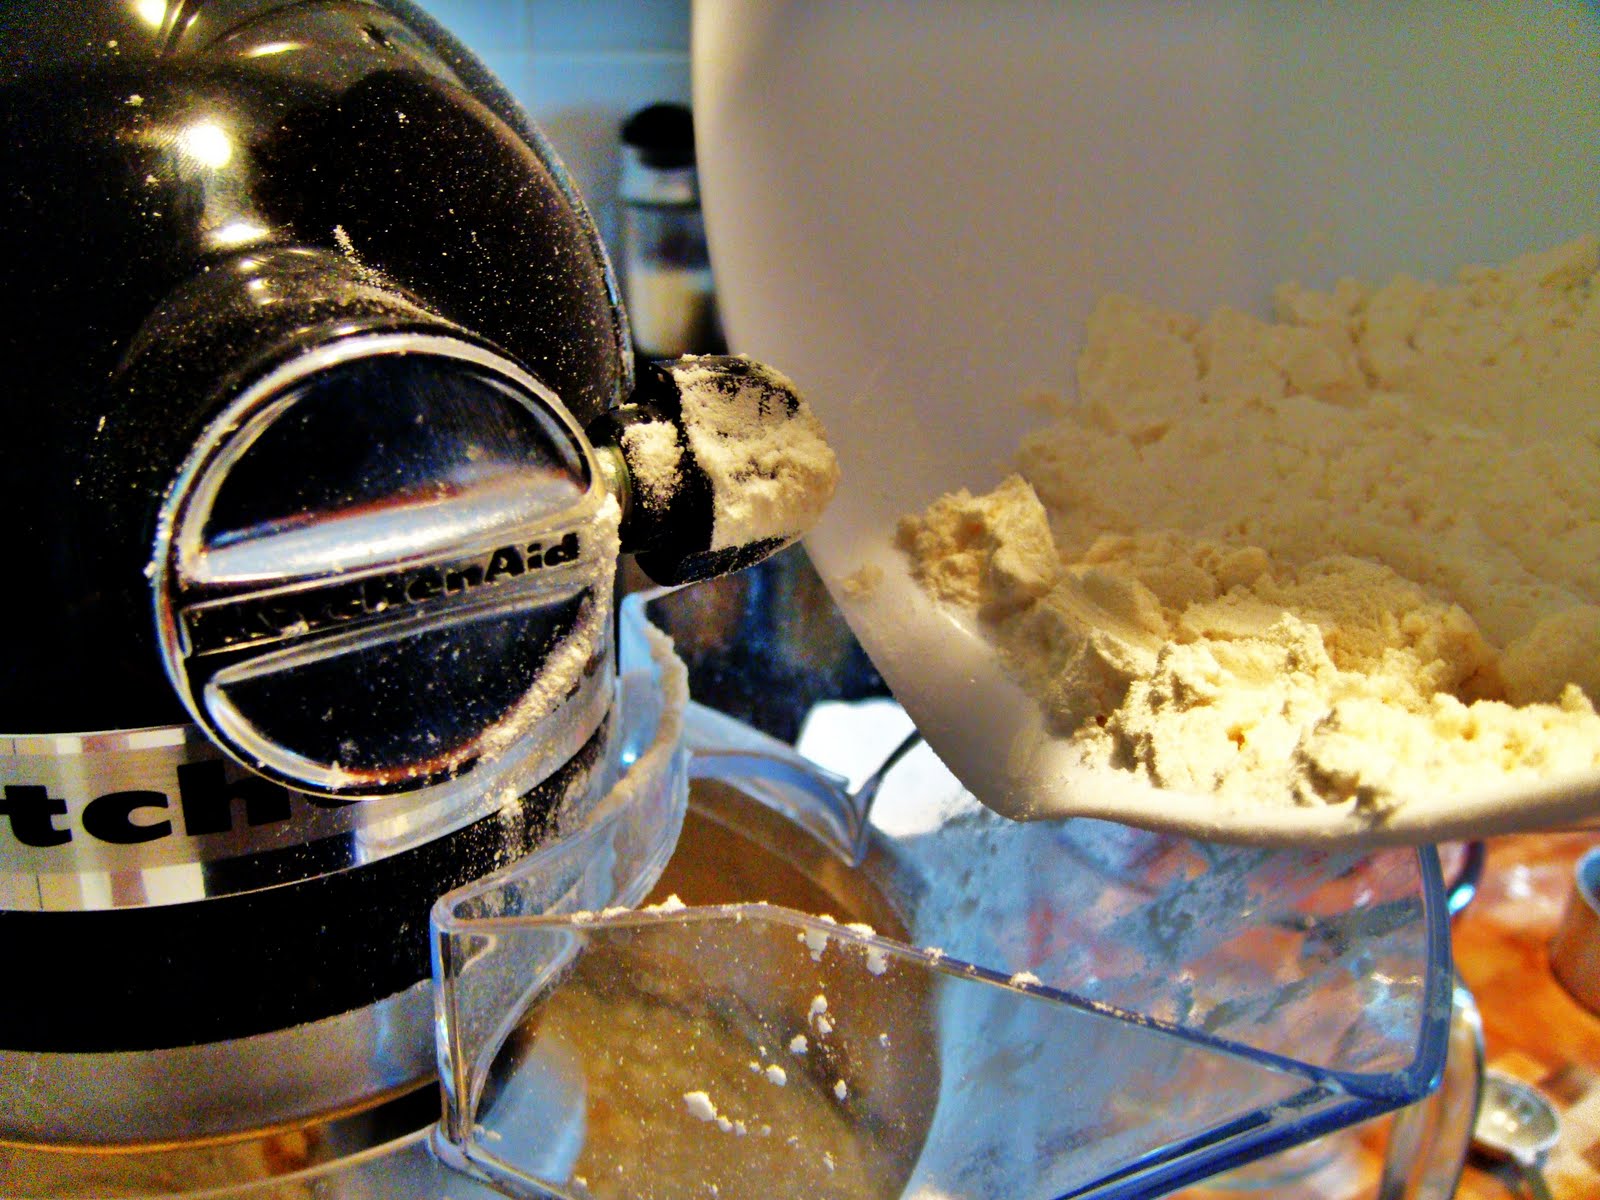
Now you can combine the rest of your ingredients. The recipe does call for white rice, I decided to use brown rice. It does not change much. The taste of the final recipe is just as good but healthier.
You will continue to stir and cook the rice and pasta together in the chicken broth. Until the chicken broth is totally absorbed and the rice is nice and tender. This recipe takes about 15-20 minutes to make. So if you are making a dish to go along with it, time it well, so your rice is nice and hot and ready to serve along with the other dish.
This is a great side dish to serve along with any type of dinner or lunch. It is easy and quick and it tastes even better heated up the next day. I hope you try this Rice Pilaf dish once your purchase your own cookbook!!

Remember November 20, 2010 and December 4, 2010
There will be a table set up at the Fashion Outlets Mall in Niagara Falls, NY from 10am-8pm selling "A Stir in The Mist" Taste and Traditions of Niagara Falls, NY!!

Friday, October 1, 2010

Peanutty Gems

 This is a Niagara Falls Boys and Girls Club favorite. It is made for the Annual Auction by one of the Boys and Girls Club volunteers.
Peanutty Gems caught my eye because Marco and I both love Reese's and this cookie is a peanut butter cookie with half of the cookie dipped in melted chocolate.
There are a couple different peanut butter cookies in "A Stir in The Mist".
This one is nice because you can do it a couple different ways.
You can make large cookies (get up to 4 dozen), or you can make small cookies, like I have and I got close to 7 dozen. When you put the chocolate on you can cover the whole top, just like i did with the Howe's cookies, or to make them actual "Peanutty Gems" you will dip half of the cookie into the chocolate.


As you mix the first part of all your ingredients, you can get all your dry ingredients mixed up and ready to add together. The one thing I noticed while making cookies. There is always a lot of flour and like a teaspoon of baking soda. It is such a small amount of baking soda, how could it possibly effect anything? Is it that powerful? Just something that blows my mind as I stir all my dry ingredients together.


Remember to add the flour mixture nice and slowly, It will fly up and get you if you add to much at one time. (the flour all over my counter was my hint to add slowly).
The cookie dough will stiffen up towards the end of the flour mixture being added. Make sure you use all the flour.
The dough should be easy to work with, sticky but yet you are able to form little balls by rolling them in between your palms.

I chose to make little balls this way I would be able to make a large batch. It is entirely up to you.
Once you have made your balls and placed them on your cookie sheets, you will then take the bottom of a glass and lightly push down to flatten out just a little. You still want the cookie to be thick just not round.


You will notice that the cookie dough may crack a little. That is okay, it will happen.
These cookies do not expand to much more in size, so feel free to put as many as you can on the cookie sheet. Just as long as there is enough space in between to bake.
The recipe says to bake for 5 minutes on the bottom rack and then 5 min on the top rack. I did exactly what it said, and they came out nice and chewy.

Once the cookies are cooled down, you can go ahead and melt your chocolate. I only used a pound of the chocolate that the recipe calls for. Again my cookies may be smaller than most. So you may need the full 2 pounds of chocolate wafers.

If you melt the chocolate in the microwave as I did. Make sure you keep a close eye on it. The bottom may melt first and the top may look like the wafers are still whole. Still take the bowl out and stir it around. The chocolate is going to be soft and it will cream together once you mix it.
You do not want to burn the chocolate, so just heat it up a little bit at a time. Keep stirring.
I dipped half of the cookie into the chocolate. I only dropped one cookie totally into the chocolate, so I did well. I just left that one for Marco to taste!

Here is the final cookie!
These cookies are very easy to make. I got close to 7 dozen, so they are perfect if you are having company or would like to bring them somewhere to enjoy.
I hope you try this recipe once you purchase your own "A Stir in The Mist" cookbook.

Wednesday, September 29, 2010

Gagster's Restaurant Alfredo Sauce


Most people that know about Gagsters Restaurant on Pine Avenue in the market plaza, only may think about that delicious pizza and wings or better yet there amazing turnovers and saucers. Well the Gagliardo Family was kind enough to let us publish there very own Alfredo Sauce recipe in
"A Stir in The Mist".
Well as we all know, Alfredo Sauce is really not the healthiest of all sauces. So just make the recipe and live it up a little. It is not like you have to eat a whole pound of pasta along with it. With this recipe you can use it on your pasta, like what I am going to do. Or you can even use it on a chicken dish or with rice and shrimp. Alfredo really goes with anything.
Okay... you may have to use a lot of butter! Like I said you will love it in the end. If all these ingredients were not in here it would not be a true Italian Alfredo Sauce.
Melting the butter is the first step and then you will add your garlic
(I used a little more garlic, because we like garlic here at The Soffritti House.)


Once you have added the 3 main ingredients into your pot you can now stir and simmer until the sauce has become thicker. I kept stirring every so often, especially so it does not stick at the bottom of the pot. This recipe is pretty big. Marco and I had dinner and I have a container full now in the freezer that I will use another day. So you are set for dinner and possibly another meal.
You will notice that the sauce is pretty runny, just keep stirring and leave it to simmer and it will thicken, believe me!
And remember you still need to add the most important ingredient... Cheese!

This recipe calls for Asiago and Parmesan.
Thanks to my husband he sat down one night and used our new Rotary Grater from Pampered Chef and decided to shred the blocks of Asiago and Parmesan cheese that we have all in one container. It made such a nice blend for pasta and other recipes. But who would want to sit there and just shred cheese, leave it to an Italian and a former employee of Latina.

Once you add the cheese you will see an extreme difference in the consistency. If you feel as if the sauce is becoming to thick, you can always add a little more Chicken Broth, that is a little tip that was given to us along with the recipe.

The only thing that we have not added yet is our parsley flakes and our salt and pepper to taste.
I used fresh parsley(i forgot to chop it up so i added a few pieces of whole parsley) and I also used a few sprinkles of dried parsley flakes.
Salt and Pepper you can add, I would taste a little as you go, just to make sure you are not adding to much salt. Remember your guests can always add more salt on there own if needed.

This recipe was very easy to make. Now that your sauce is just about there, I would boil your water and get your pasta all cooked and ready!

I did not get a picture of the final product, it slipped my mind and once this sauce is on anything it will not sit long enough in a dish to get a picture. It is that good!!
The Alfredo Sauce recipe from Gagsters is just one of the many local restaurants and businesses that will have a recipe in "A Stir in The Mist". So now you can bring some of your favorite recipes right into your own kitchen. Hope you enjoy!!

Thursday, September 23, 2010

Howe's Ricotta Cheese Cookies

Howe’s Cookies was founded in 2007 by Joan and Kevin Howe's.  Joan uses traditional family recipes that have been passed down through the generations. They make many different cookie types and styles.  Everything from homestyle cookies to authentic Italian favorites.  All of their ingredients are hand selected for quality and freshness.
The cookbook committee was lucky enough to receive one of the cookie recipes from Joan to publish in "A Stir in The Mist".
Ricotta Cheese Cookies is the recipe you can get your hands on once you purchase
"A Stir in The Mist".
You may think that cheese and cookies are an odd mix, but wait till you try these! You will change your mind instantly on that opinion.
To make this recipe I used my kitchen aid stand mixer. There are a lot of ingredients that you will be mixing together and once everything is all combined it may get a little to heavy to use a hand mixer.


I purchased my Ricotta Cheese over at Lariccia's Italian Marketplace, this is my Latina away from home! It is a a small store but it carries everything you could ever want for an Italian kitchen.
You will add in the Ricotta cheese once all your other ingredients are all mixed together.
Mix the Ricotta in very well, then you will add all your dry ingredients.
As you are mixing all your ingredients together you can start to grease your baking sheets and get your oven pre heated.
I found that this recipe is very sticky so I used a little spoon to scoop out about a teaspoon and half of the cookie dough. I was not able to roll the dough to make balls so just scoop a little out at a time and place on baking sheet.

To smooth out the top of each cookie before baking, I wiped my hands on a damp paper towel just to moisten the tips of my fingers and I patted down on the cookie dough and just smooth out the top a little. Make sure your hands are not really wet just a little damp this way the dough will not stick to your fingers.
Now it is time to bake!
I baked my cookies for 13 minutes, do not be afraid to take them out even though the top of each cookie still feels moist. They will harden a little more once they sit out on the cooling rack. You do not want these cookies to be crispy or crunchy, you want to take a bite and feel the moistness.
Once you have baked all your cookies. You want to let them sit and cool completely. As they are cooling you can now put together the ingredients for the icing! Before icing each cookie do not be afraid to have a sample of one of the cookies, or two!
Wow are they good.
I found that when I put together the ingredients for my icing I needed to add just a little bit more milk to ease down stiffness. Adding just a little bit more milk may make it a little easier to work with.
You can either ice the top of each cookie with a little knife or back of spoon. I just find that using my finger works a whole lot faster.
(wash your hands pleeease)

Once you have finished each and every cookie, you can let them sit until the icing has hardened.
This recipe can make 6 dozen cookies. I actually made a little over 7, the size of mine may have been a little smaller. The nice part about these cookies is that they are known to freeze well. So instead of keeping the whole recipe out on a dish I will put a couple dozen in a freezer bag and save for a later time when we have company. I hope you enjoy these cookies and Thank you Howe's for sharing such a great recipe with us!

Tuesday, September 21, 2010

King Ranch Rice

Well if you have been following my blog, yesterday I posted the King Ranch Chicken recipe. I let it sit through the night in the fridge and it is all ready for dinner today. A great side dish to make with that recipe is King Ranch Rice. This recipe is under the sides in "A Stir in The Mist".
This rice dish is so easy and quick to make.
You can either use white or brown rice and the celery is an option.
The diced tomatoes and chilies add such a nice taste to this side dish. It gives it a little bite but it is not to hot to handle. The nice part about King Ranch Rice is that it brings together the whole taste of King Ranch Chicken. The ingredients in King Ranch Rice are so similar to the chicken recipe that there really is not another dish that could compliment it so well.


When making this recipe you will cook your rice separate with the chicken broth and then you will combine everything into one pan. This rice dish can be eaten cold or hot, whatever you prefer. When cooking the rice, I under cooked mine just a little because once you add it to the other ingredients you will cook a little more.
I hope you enjoy this recipe when you purchase "A Stir in The Mist" for your own home!


Monday, September 20, 2010

King Ranch Chicken

King Ranch Chicken was a recipe that my Aunt Sharon from Kentucky made for her family and was a recipe she shared with our family to enjoy.
This recipe was featured in "Creating a Stir", a cookbook out in Lexington, Kentucky and inspired the cookbook committee in
Niagara Falls, New York to create "A Stir in The Mist".
Whenever myself or my family makes this tasty recipe we always remember my aunt Sharon "Bean" Borgese and what a great cook she was.
King Ranch Chicken is like a Mexican lasagna. Instead of using the pasta to separate the layers of ingredients you will use tortillas.
This recipe can be made and baked in one day, but it is even better when you prepare it the day before you are going to bake it just make sure you cover and store it in the refrigerator.


There is a lot of chopping involved so if you do have a "Slap Chop" or even a Pampered Chef food chopper this is the perfect recipe to use it for.
You will saute all the ingredients while you boil your chicken in chicken broth.
Once the chicken is done you can use two forks to shred it apart or just roll up your sleeves(and wash your hands) and start pulling the tender chicken apart. The recipe calls for a certain amount of chicken, I used a little more just to add some more to the recipe.
That is the fun part about cooking to me. Once you try the recipe once you can alter it to how you want it to taste.


Make Sure you save the chicken broth that you boiled your chicken in so you can put your tortilla shells in to soak.
You will combine all your ingredients in one pot and this will be your tasty filling.


Be careful when you take apart the chicken because it is very hot!
Once all your ingredients are combined and mixed up you can now cut up your tortilla shells into little triangles or however you wish and start soaking a couple at a time in the left over chicken broth.

Once you have soaked each tortilla, remove them from the broth one at a time letting the excess liquid drip off and you can start your first King Ranch Chicken layer. Cover the bottom of the baking dish completely.
Your chicken and the other ingredients that are all mixed together will then be your next layer and once you have covered the tortilla layer you can top it off with some cheese.
After you have used the cheese to cover the first layer, you will repeat everything all over again and your very top layer of this recipe should be cheese.
Once you have topped it off with your cheese you will either cover it and save it for tomorrow like I am going to do, or you can preheat your oven and bake away.
The final ingredient for the top of this recipe is the diced tomatoes and chilies. You can put these on if you wish, it is up to you. If you choose to use them make sure these are not put on till you are ready to bake! 
With this dish you can serve a great rice dish that I will be making tomorrow so I hope you enjoy!